Tuesday 28 April 2020

ADLG-R Solo Maximillian German vs Early ECW English Royalists


For most of my games I've played, its been against historical opponents to see if the game gives you the right feel.

For this game, I decided to play two non historical opponents and see what happens.

In other rules sets, generally the later armies thrash the earlier ones, which, while historical, doesn't make for much fun in such a narrow period.  So, could this work?

The English won the game and chose to attack in the plains.  The terrain fell mostly in the flanks on the English side, forcing their army to bunch up.

This allowed the German keils to face off against the nasty English shock horse while attempting to stop the English "Cuirassiers" with their outdated knights.

The end result was a win to the Germans!  The keils proved to be very resilient and were able to charge mounted and beat them.

Maxmillian Germans
Command 1
Competent General
2 x Heavy Knight Elite
1 x Heavy Cav Impact
1 x Kiel Elite
2 x LF Arquebus

Command 2
Competent General
2 x Heavy Knight
1 x Heavy Cav Impact
1 x Kiel Elite
1 x LF Arquebus

Command 3
Competent General
3 x Kiels
2 x Medium Artillery

Early ECW Royalists 1642
Command 1
Brilliant General
4 x Medium Cav Shock Impetuous
1 x Dragoon Arquebus
1 x Pike & Shot reduced musket mediocre

Command 2
Competent General
3 x "Cuirassiers" Extra Heavy Cav Pistol Elite
1 x Dragoon Arquebus
1 x Pike & Shot reduced musket mediocre

Command 3
Competent General
5 x Pike & Shot reduced musket mediocre
1 x Med artillery

The English deploy with two fields and a plantation on their side.

The Germans have a much more open table with a field and a gentle hill.


The Landsknects from BlueMoon minatures


The English advance very agressively and by the end of turn 1, both sides have take hits.

This could be good, elite Keils vs mediocre Pike & Shot


The Keil gets stuck in!

The English Cuirassiers charge in and loose to the Knights

The Pike & Shot looses the melee while it's supporting Keil takes heavy fire

On the right flank the Landsknects charge another Pike & Shot and starts beating in.


Where did the English go?  there seems to be a large hole.....

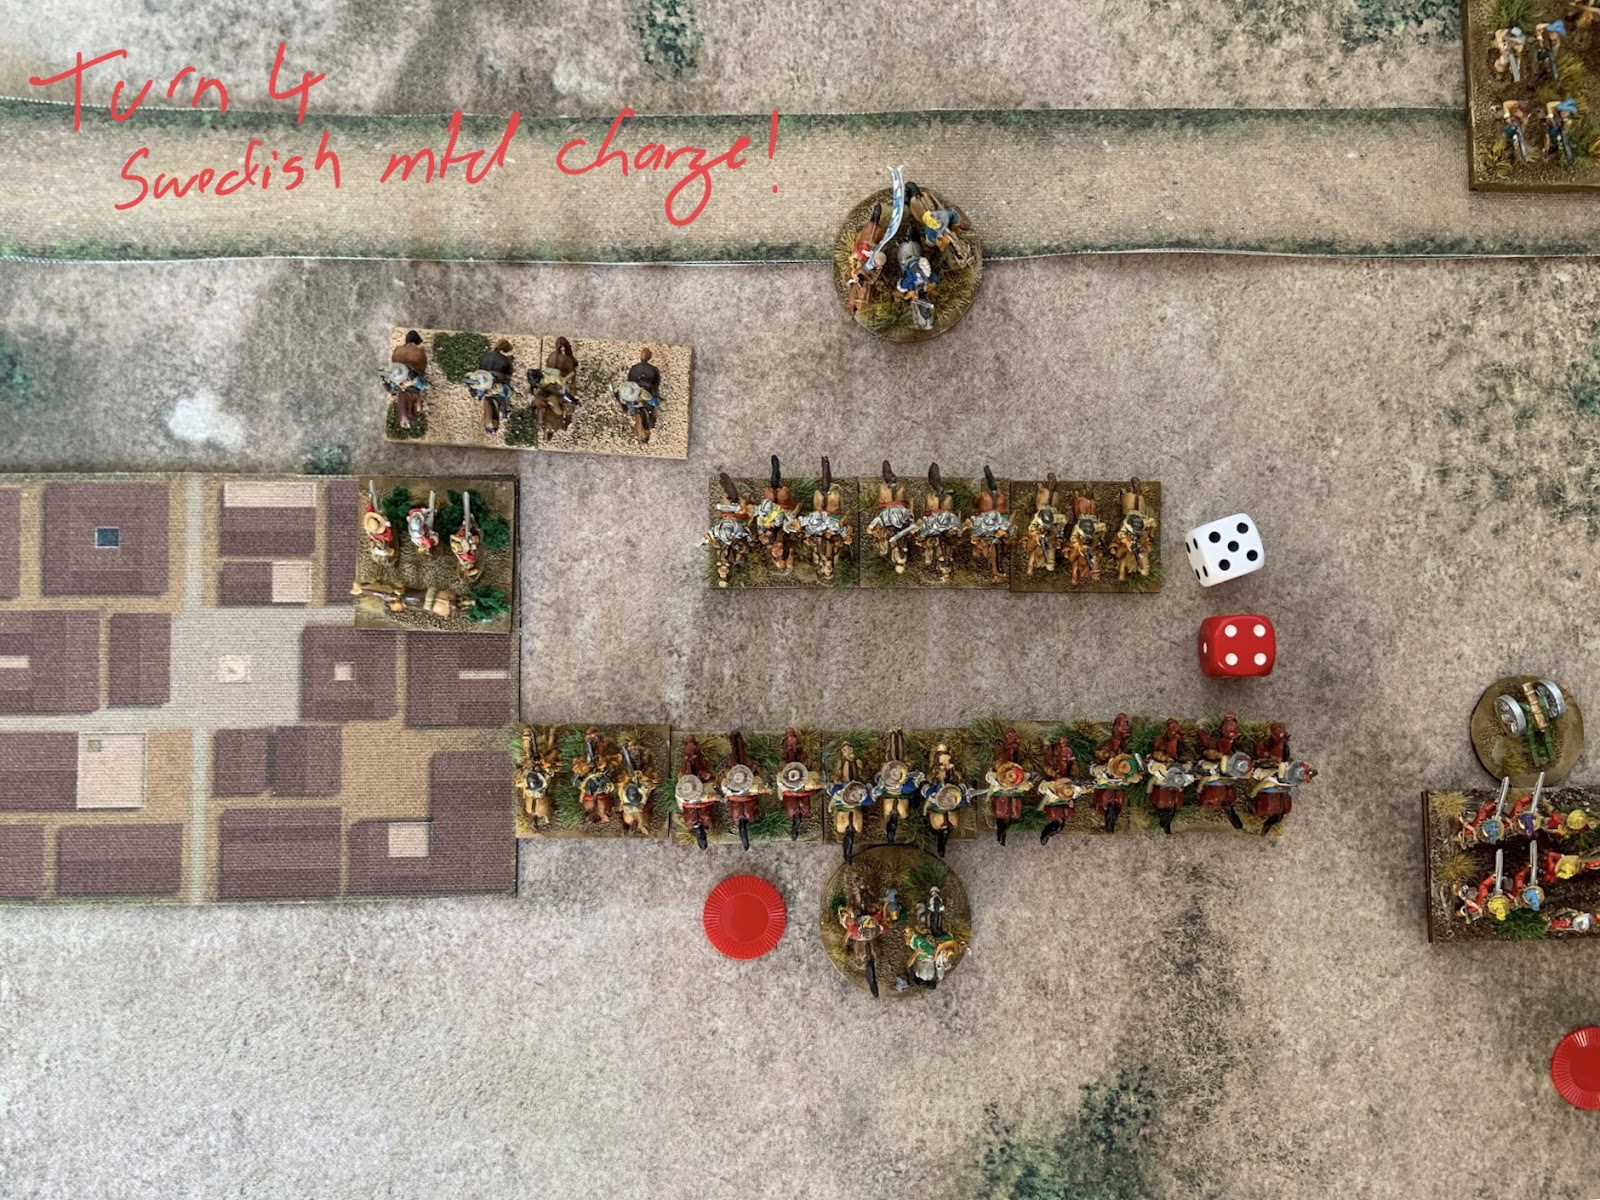
Another Keil attacks and surprises the English by charging the mounted, who loose both rounds of combat.

On the left flank, the knights finally break the English Cuirasiers and start their advance around the flank to the rear of the English and their unprotected baggage.

Tuesday 21 April 2020

ADLG-R Solo Game League of Ausburg vs Later Polish

Another game of ADLG-R during lock down.

This time, I've gone for two of the later armies, dating around 1680s.  I chose Later Poles vs League of Ausburg, so, two very different choices.  The LoAs power is high volume of shooting where as the Poles are very mounted focused, with the Winged Hussars as their central punch.

The table is a bit shorter as I'm using my coffee table rather than sitting on the floor.  So, I shorted the deployment which kept the rest of the table the same dimensions.

The end result was a convincing win to the Poles as they broke thru both flanks with their mounted wings, with the German and Polish mounted charging down the right flank of the LoA.

The Poles won the initiative and chose to attack in the forest.

The LoA deployed a water way and a village ( I used a star fort I bought at Warfare 2018) on one flank and their forest was moved over to the Polish side.  The Poles only deployed a road and a brush, which was removed.


Turn 1, The Poles advance.

They loose both rounds of shooting, taking heavy fire from the LoA.


Turn 2
The Polish C n C moves to rally one of the Polish Foot that had three markers.

The roll is a 4 on the dice, so, with Rear Support and the General attached, a +2 is added to the dice.  The result is 2 more than required and so, two markers are removed.

Turn 3
The Poles advance to charging range after recovering some cohesion markers

The Winged Hussars line up for a charge

Turn 4
The Polish mounted wings charge in.

On the left flank, the German horse contact the wounded Bayonet Battle Unit

On the right hand side, the Winged Hussars contact.  Time to see what Elite Shock can do.


The Hussars break thru and must step forward due to being Shock.
One Hussar rolled a 1-6 and took two cohesion markers


On the left flank, the German mounted broke the Bayonet Battle Unit in one turn and we now have the first breakthru.

Turn 5
The German mounted flank charge the Later Pike & Shot.
The LoA P&S doesn't take a cohesion marker as isn't engaged.


This doesn't bode well (the Poles roll a 6 on the dice)
The factors:
German Mounted
Cav vs flank of Heavy Infantry +1
Flank Attack +1
Support +1

LoA Factors:
0 as it was contacted on flank

The LoA takes three cohesion markers

Turn 6
Its all over
The LoA P&S that was contacted on the flank in Turn 5 has now conformed.  It makes a 1/4 turn to face the German mounted who is on it's flank.

In Turn 6, a Polish Carbine mounted horse contacts it in the flank, this time causing it to take a cohesion marker

Madaxeman Lockdown Podcasts!

Tim (the Mad Axeman), myself and a bunch of mates from the Central London Wargaming Club are doing a series of "Lockdown" podcasts.

We talk about what we are painting, new projects, general chats about wargaming and random quizes

You can find them here

We are aiming to do one a week till the end of lockdown

Monday 13 April 2020

ADLG-R What's Been Happening?

I was hoping to have finished the update over the Christmas break but work and life got in the way.

One thing I've learnt over the months writing and editing ADLG-R is the time it takes to get the language just right.  I've learnt a lot of respect for rules writers who can clearly convey their thoughts and meaning in a very clear way that doesn't allow for much wiggle room.  I've had to go back several times and re-write rules to make them clearer.

I've now done 82 army lists covering Western Europe thru to Japan covering 1500 to 1699.

I'm not worrying about the Africa's or the New World. The're not something that I've played much in several years of playing renaisance, so, I'd rather focus on periods where most people have an army.

There are points cost in the book so that you can write your own lists if you want.

ADLG-R Solo game Early 30 Years War Catholics vs 30 Years War Swedes

Since we are all locked down due to Covid-19, I've been using the time to finally update ADLG-R and get it another play test, this time solo.

The Armies

Tilly's German's

1 x Brilliant C n C
2 x Competent sub generals
4 x Heavy Cav Caracole
2 x Medium Cav Carbine
1 x Elite Later Tercio
3 x Early Tercios
2 x Dragoons
2 x Medium Artillery
2 x LH Carbine

Gustavus's Swedes

1 x Briliant C n C 
2 x Competent sub generals
4 x Heavy Cav Pistol
1 x Hakkapeliita Heavy Cav Pistol Shock Impetuous Elite
2 x Reiters Medium Cav Carbine
4 x Elite Salvo with Regimental guns
2 x Salvo
2 x Dragoons
2 x Heavy Artillery

The table 
The Swedes win the initiative and choose to attack in the German countryside (Plains).  They choose a nice open table to allow the Salvo units lots of space to manuver.  


Turn 1
The Swedes


Swedish artillery scores the first hit of the game 
The German line just forms up due to some very bad command pips (3 x 1's!)

Turn 2 
Swedes contine pushing

Turn 3
The Germans need to rally.
The Dragoon is able to claim rear support fro the Reiters who are within 4UD 

The Caracole unit claims rear support from the Tercio who is within 2UD 

Turn 4
The Swedish mounted charge! 

The Germans evade long.  The Swedes choose to pursue as a line due to the Impetuous Hakkapeliita

The Swedish foot take some accurate artillery fire.  As they are within short range and the difference on the dice is 3+, they take 2 cohesion. 

The Swedes return the favour and break an artillery unit. 

By the end of the Swedish turn, most units have one or more cohesion markers. 

The Germans line up for the inevitable Swedish charge and cause lots of hits. 


Turn 6
The Swedish centre charges
The first contact goes well for the Swedes with a 6-1 on an already wounded Tercio.  With Furious charge, that's four cohesion markers.
The Tercio wins the next round of melee 


A German Tercio shoots and kills the Swedish cuirassier who was attempting to rally

Turn 7
The push of pike continues and the German centre starts to crumble with a Tercio collapsing. 

The German left flank crumbles 

A Swedish Salvo unit charges a German Tercio.  Even though it started the charge on the flank, the charge counts as a frontal charge as its a Tercio and its not engaged.

The Swedes conform 

End of Turn 7
The Swedes break Tilly's Germans but take heavy losses.